Wednesday, February 20, 2013
Import skp file into Zbrush
1. Download the free Sketchup software
2. Download the Obj exporter from Sketchucation
http://sketchucation.com/forums/viewtopic.php?t=33448
install it
3. Download your model from the warehouse (skp file)
4. Open it in Sketchup, export it als Obj
5. Import the as tool in ZBrush
That's it
i.e.
Tuesday, November 2, 2010
http://www.fallingpixel.com/3d-artists/davidlecardinal
Actually I work again of new version of www.davidlecardinal.com (AS3) just for fun and for learning AS3.

Wednesday, March 3, 2010
Thursday, February 25, 2010
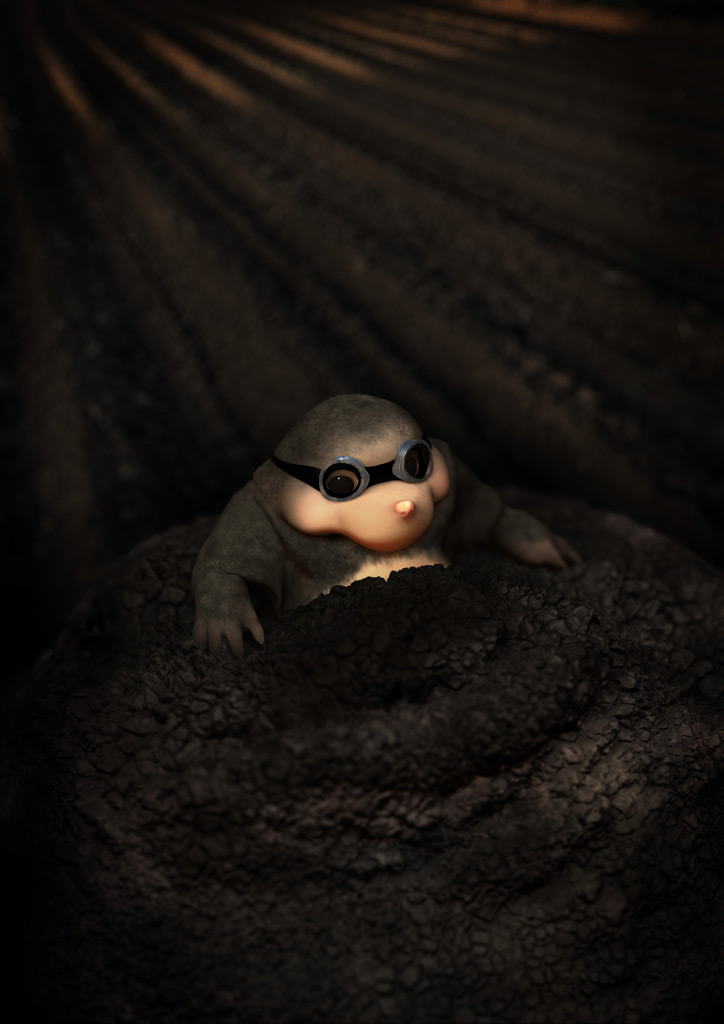
I did it quickly last evening to test the Workflow between Zbrush and 3ds Max. Of course it's not a lot detailled, eyes and mouth need more work but it was not my goal for yesterday.
here the Process I've done it:
- First Zsphere in Zbrush
- Zsketch of it
- Make a Polymesh of it and start sculpting
- Add some Subdivs (in this case 4 Subdivs/ 500,000 ActivePoints) and sculpt everytime a little bit more fine
- UV in Zbrush automatic UV packed
- Polypainting
- Export a low level (the first or the second. In this case it was about 30,000 ActivePoints) Obj-File
- Export a Normal map / Texture map
- Go to Max, import the Obj Model
- add Normal Bump and diffuse to it (Swap the UV Tiles to -1.0)
- Have fun with mental ray and lighting
I use the Gomax script later. It works great, but crashed for directx shader of my old Laptop.... Otherwise this script is amazing.
I'm not a Profi for this Workflow... but it's worked great. If someone get something better... please tell me where I'm wrong :)
Friday, December 18, 2009
Wednesday, November 11, 2009
This this the result of the first Zbrush try too. I export differents passes to Photohop direct from Zbrush. Nice option and really speed workflow. I get the Tipp from the book "ZBrush Character Creation: Advanced Digital Sculpting" from Scott Spencer. Scott Patton get this way, first.
Here are the render passes for Ulf:

...and the details of the Photoshop file:

Tuesday, September 22, 2009

Following, the different passes used:

Z-Depth (corrected in Photoshop)

Shadows Pass

Reflections Pass

Ambient Occlusion Pass

Matte pass
Thursday, May 28, 2009


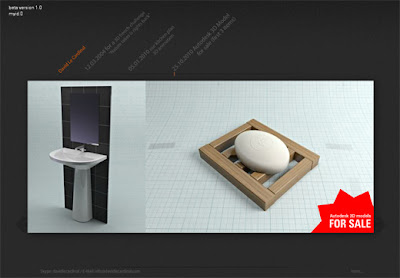
My house get continued. I made the bath (funny it was my first Bath in 3D... hate standard exercise :). I split the render in 4 part with this macroscript (don't forget to fridge the final gather). I change a little the script from the original that it's started with DIN A4. The Original Script can you find by Zap's mental ray tips.
I compose the two rendering in Photoshop for color correction and add an ambient occlusion pass. There is a good tutorial about ambient occlusion on 3DS Max Rendering.
C&C are welcomed.
Software: 3ds Max, Mental Ray, Photoshop
Links: forums.cgsociety.org - cghub.com - 3d-station-forum.com - deviantart.com
Tuesday, December 2, 2008
Sunday, October 26, 2008
 My new picture on cgtalk.com
The concept is from Alex Fechner (www.fmcs.de).
It was a nice work to learn Mudbox and Zbrush. Now I'm waiting to see the final compositing from Alex.
Sunday, July 20, 2008
Tuesday, February 19, 2008
Tuesday, February 5, 2008
 My first pic on Cgtalk. yeah!
But I made it for the french Forum 3D-Station. The Challenge was "La mort d'un héros". This one takes the second place (of 5) Just for fun and knowledge :)
3ds max, mental ray, Photoshop
Friday, February 1, 2008
 This is my participation for the Design Challenges - Charrette's on 3dallusions.
A Lighting/rendering challenge.
3ds max, mental ray


